How To setup a Control NT Service Action
Article created 2007-04-05 by Florian Riedl.
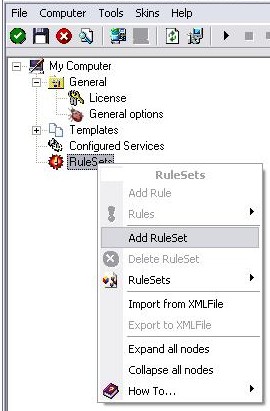
1. First we define a new rule set. Right-click “Rules”. A pop up menu will appear. Select “Add Rule Set” from this menu. On screen, it looks as follows:
2. Then, a wizard starts. Change the name of the rule to whatever name you like. We will use “Control NT Service” in this example. The screen looks as follows:
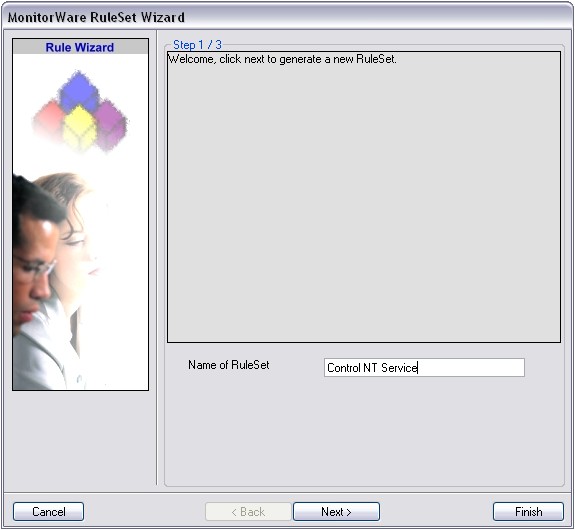
Click “Next” to go on with the next step.
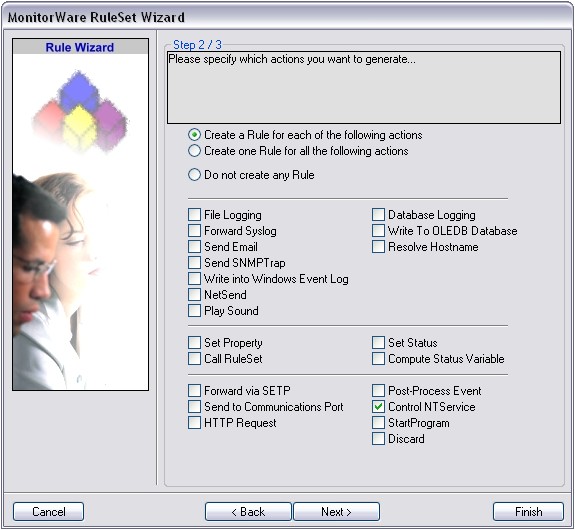
3. Select only “Control NT Service”. Do not select any other options for this sample. Also, leave the “Create a Rule for each of the following actions” setting selected. Click “Next”. You will see a confirmation page. Click “Finish” to create the rule set.
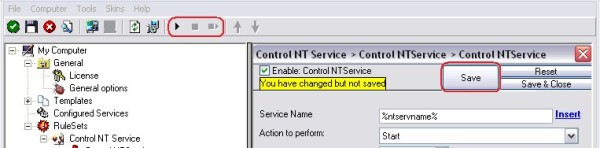
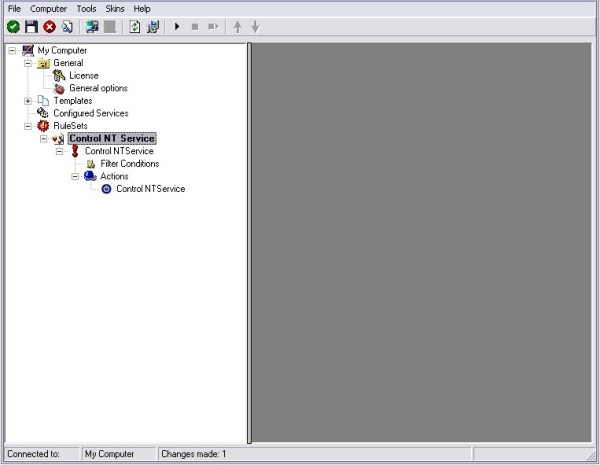
4. As you can see, the new Rule Set “Control NT Service” is present. Please expand it in the tree view until the action level of the “Control NT Service” Rule and select the “Control NT Service” action to configure.
5. Here you can configure the control options which include the service name (which is the actual service name, not the display name), the action to perform and a timeout value. For the service name, you can take a concrete name for a specific service or leave the property in conjunction with the NT Service Monitor. For now we leave the default values.
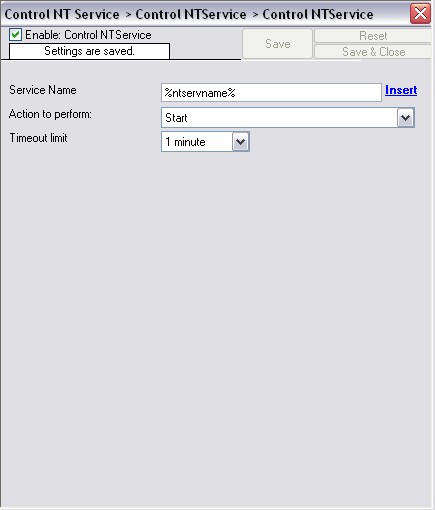
6. Finally, make sure you press the “Save” button – otherwise your changes will not be applied. Then start the service and you are done.