Created 2011-02-03 by Florian Riedl
With version 8.0 of MonitorWare Agent we introduced a new action called “Send MSQueue”. This action allows MonitorWare Agent Professional and Enterprise to forward the received messages to the Microsoft Message Queue. This action is also available in EventReporter Professional (v12.0) and WinSyslog Professional and Enterprise (v11.0).
To get this new functionality working, you need to do some work in advance. Basically, you need to have the Microsoft Message Queue functionality installed on both the system you want to use MonitorWare Agent on, as well as the system where you want to have the messages being forwarded to. If both systems are the same, the process is can be shortened a bit. But our assumption is, that this is not the case.
Step 1
The server which should receive the messages from the message queue needs the most attention here. We will show how to configure it with the example of a Windows 2008 server. These steps should be similar for a Windows 2003 Server as well.
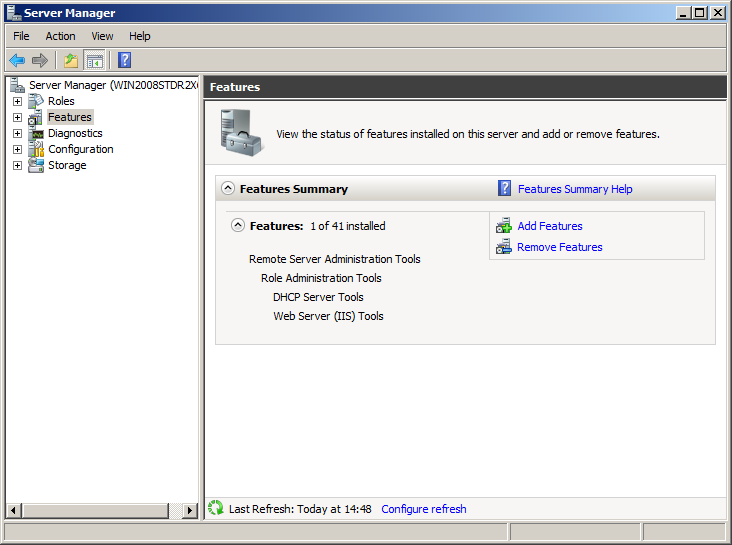
Go to the Server Manager. On the left hand side, you find everything, that is necessary for the server. Go to “Features”. Then click in the right pane on “Add Features”.
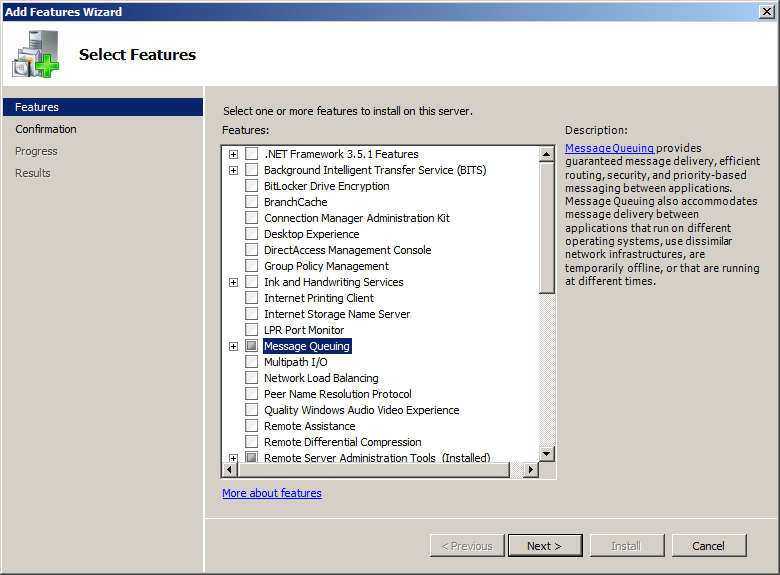
You will get a list of features you can install. Right now, we are only interested in the Message Queueing feature. Mark it to be installed. You could expand the view, but for now the default options are sufficient (depending on your needs you might want to install some of the other options). When you have marked Message Queuing, click on “Next”.
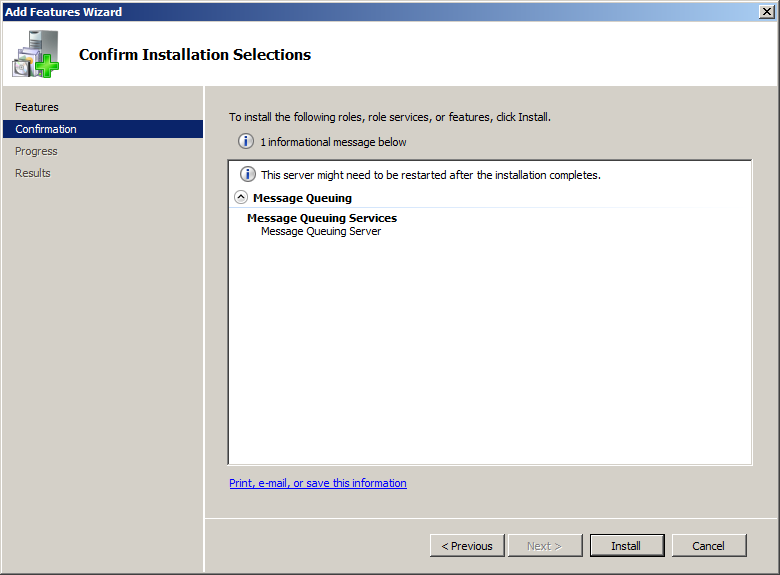
You will be shown the Features to be installed. The screenshot shows only the Message-Queuing Service, since this is the only feature we want to install right now. Click on “Install”.
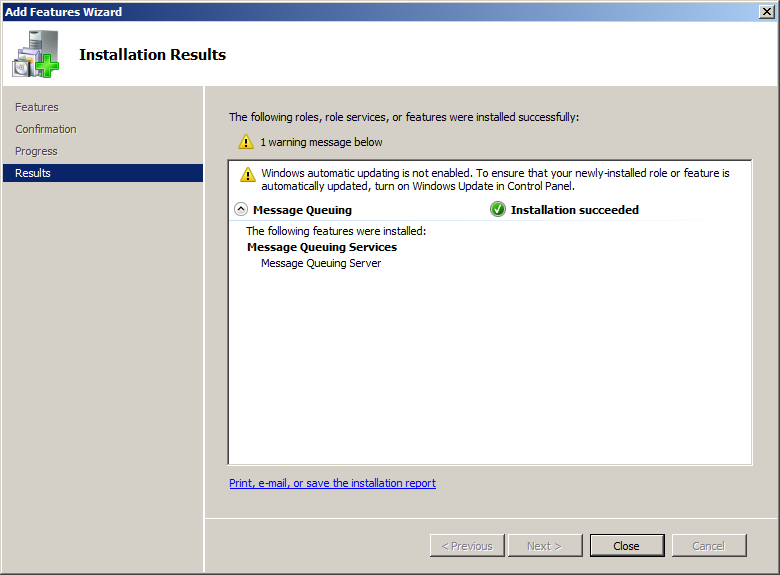
The feature will be installed now. When the results are shown, it should say that the installation was successful. Click on “Close” now.
In your Server-Manager you should now find Message Queuing und Features. Expand the view completely. You will see the different queues now.
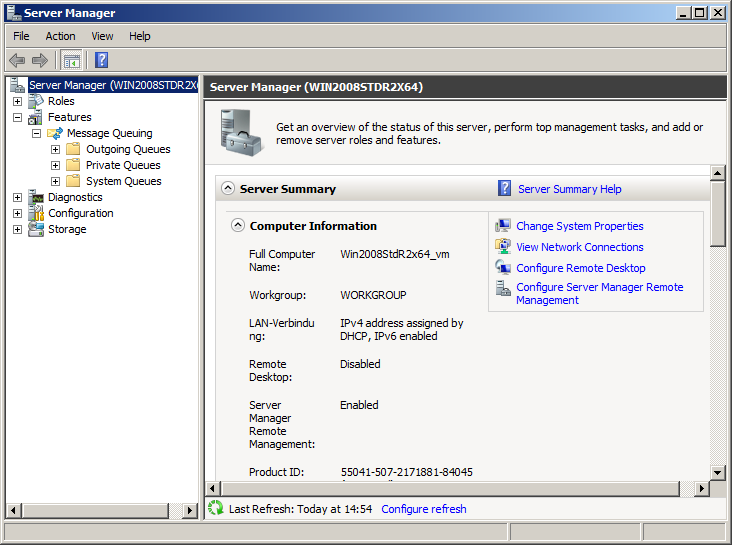
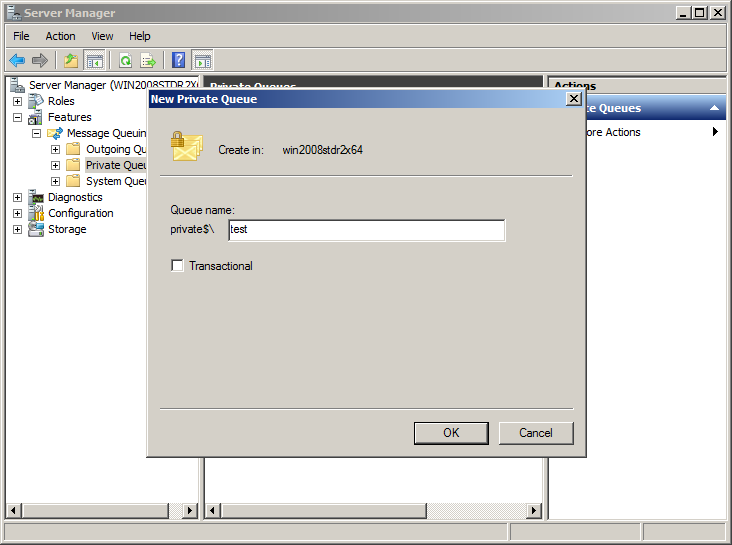
Most interesting to us are the privat queues. It will hold the received messages later. But for that, we need to create a queue first. Right-click on the private queues. In the context menu go to “New” and then on “privat queue”. A window pops up, where we can define a name for it. Choose a name and click on “Ok”.
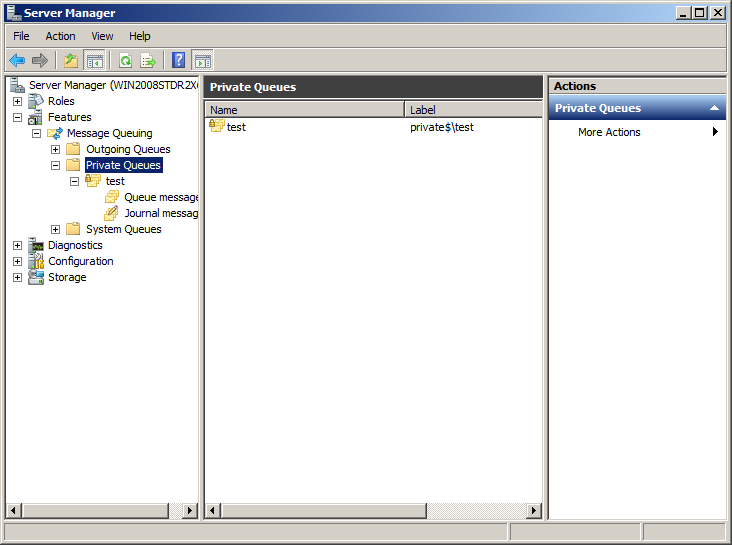
You can see the newly created queue named test on the screenshot. By expanding the view further, you will find more sub-folders like queued messages and journal messages. We will later find the messages in queued messages.
That’s it for now. The server is now ready to receive messages for the message queue.
Step 2
Now we take care of the client setup. We need to setup the message queue feature here as well. In this example we show how to do that on a Windows XP machine. The process should be similar on a Windows Vista or Windows 7 machine.
Go into the Control Panel and open “Add or Remove Programs”. Click on the “Add/Remove Windows Components” on the left side. The Windows Components Wizard will open and it will show you a list of additional programs and services. Scroll down until you find the entry “Message Queuing”.
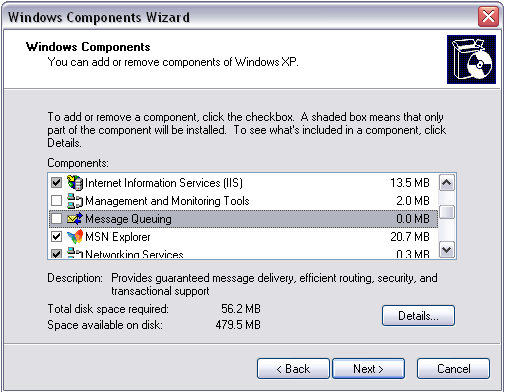
Mark it for installation and click “Next”. The components for Message Queuing will now be installed. When it is finished, the installation wizard will tell you, that you have successfully completed the installation. Click on “Finish”. You can close the “Add or Remove Programs” window as well.
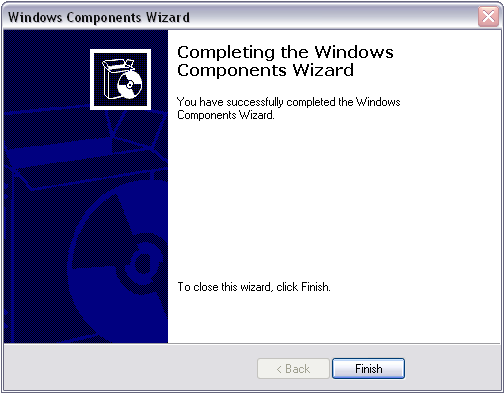
That was pretty quick. We do not have to do any extra configuration here. We just needed to install these components for the API to be available, so MonitorWare Agent can use it.
Step 3
We can now configure MonitorWare Agent to send to the Message Queue. We assume, that a basic configuration for MonitorWare Agent is already available and it is configured as a syslog receiver with a ready ruleset.
Therefore we just need to create the action. It is called “Send MSQueue”. Right click on “Actions”. A menu will open. Move the mouse to “Add Action” and the list of available actions will appear. Click on “Send MSQueue”, you will find it in the middle of the list.
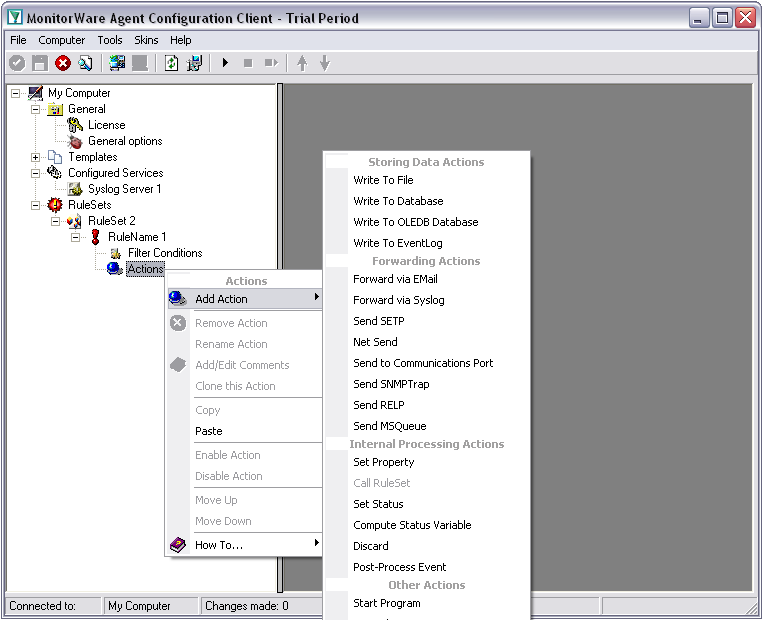
The setup wizard will occur. Simply click on “Next” and then on “Finish”. You can now see the “Send MSQueue” action with its default values.
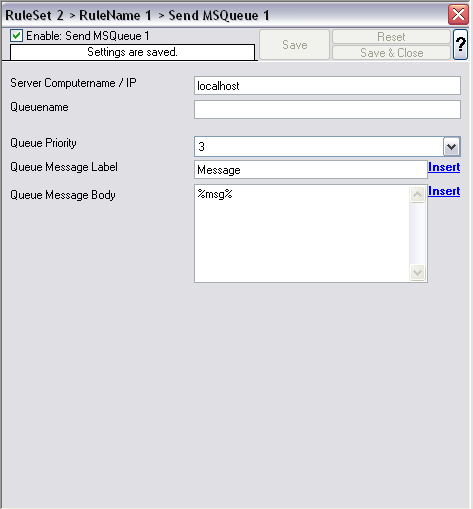
We need to change at least the “Server Computername / IP” field and the “Queuename” field. These need to be changed for the scenario to work. The rest can stay as is. Though you might want to change at least the “Queue Message Label” as this will always be the same then. You can change it, by using the properties available in MonitorWare Agent. The same goes for the field “Queue Message Body”, which can be completely customized with properties and you own content. By default it holds the message of the Syslog Message or Windows Event.
We need to change the adress field, which is on the top, to the IP of the machine we want to send to. Hostnames currently do not work yet. The “Queuename” must be set as well. This is needed for the queue that should be filled with messages. You can see on the image below, how this should look like.
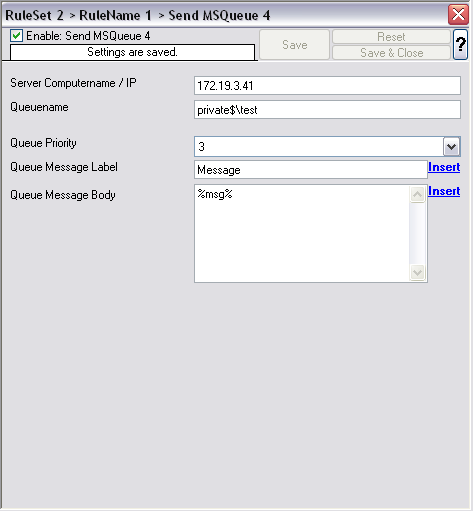
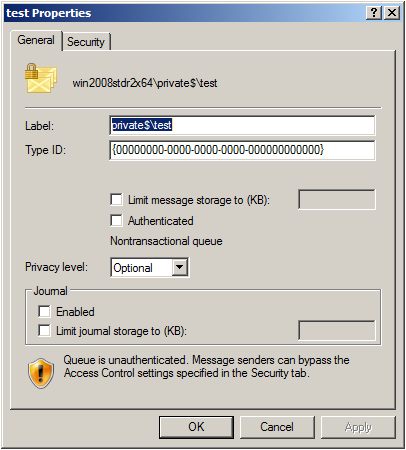
You can get the path yourself by going to your queues on the server. Right click on the queue you want the path of and click on “Properties”. A window with the properties will open. In the field “Label” is the path to the queue. This should be copied and pasted into MonitorWare Agent.
Final Thoughts
This is the easiest way to set up MonitorWare Agent to work with the Microsoft Message Queue. More information on the Message Queue is available at the Microsoft website.
Please note: the MonitorWare Agent Service must be started with some account credentials that have administrative privileges on the local machine as well as on the remote server, that shall receive the messages. You might need to set this manually in the control panel for “Services”.