How To setup a File Logging Action
Article created 2007-01-16 by Florian Riedl.
Please note: This Step By Step Guide works for EventReporter, MonitorWare Agent and WinSyslog.
1. Start the Client.
Then define a new rule set, right click “RuleSets”. A popup menu will appear. Select “Add Rule Set” from this menu. On screen, it looks as follows:
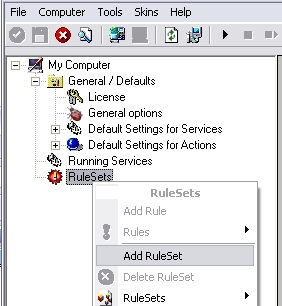
Figure1: Creating the new ruleset
2. Then, a wizard starts. Change the name of the rule to whatever name you like. We will use “Write to File” in this example. The screen looks as follows:
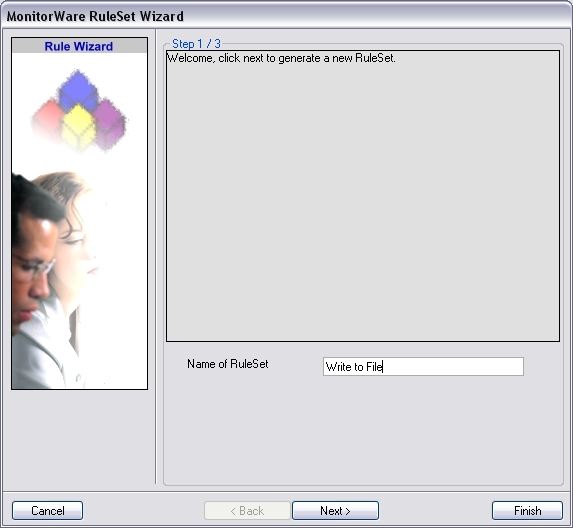
Figure2: Starting the Wizard
3. Click “Next”. A new wizard page appears. Select File Logging. Do not select any other options for this sample. Also, leave the “Create a Rule for each of the following actions” setting selected. Click “Next”. You will see a confirmation page. Click “Finish” to create the rule set.
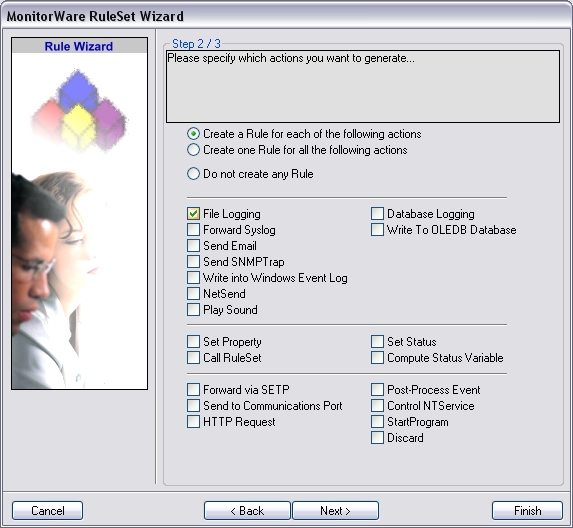
Figure3: Select File Logging
4. As you can see, the new Rule Set “Write to File” is present. Please fully expand it in the tree view until the File Logging action appears.
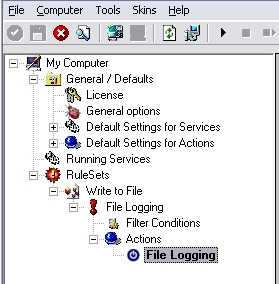
Figure4: Expanding the tree
5. Now, type the File Path Name and the relevant information for file logging.
Note: By default the File Path Name is c:\temp (you can replace this with your desired values). In older Versions of MonitorWare Agent, WinSyslog and EventReporter the missing directory wasn’t created. So make sure that this folder exists on the desired drive. The latest versions MonitorWare Agent, WinSyslog and EventReporter do create the missing folder.
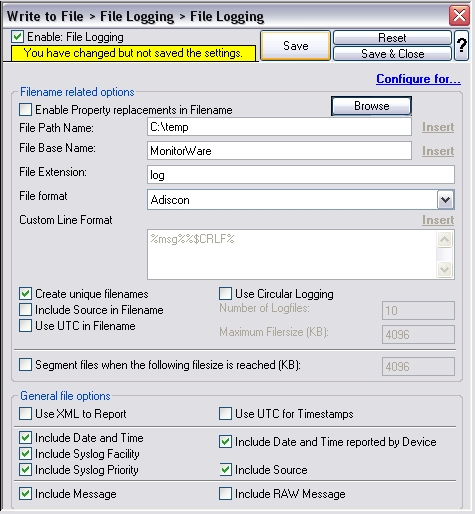
Figure5: The file logging action
Note: Make sure you press the “Save” button – otherwise your changes will not be applied. Now you must restart the service for the changes to have an effect.