How To setup a Start Program Action
Article created 2007-04-12 by Florian Riedl.
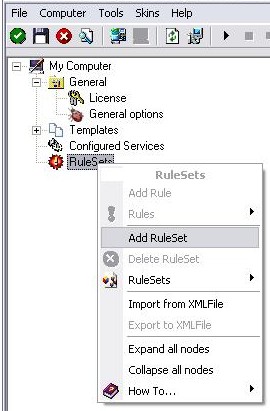
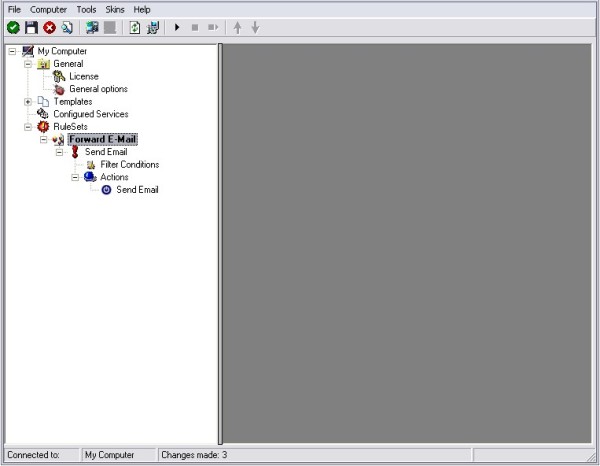
1. First we define a new rule set. Right-click “Rules”. A pop up menu will appear. Select “Add Rule Set” from this menu. On screen, it looks as follows:

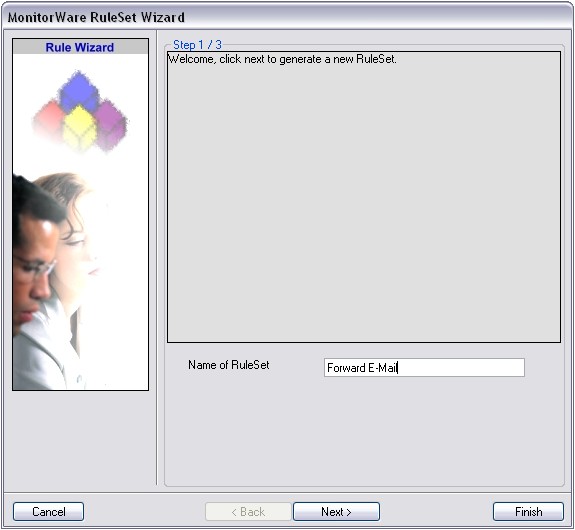
2. Then, a wizard starts. Change the name of the rule to whatever name you like. We will use “Start Program” in this example. The screen looks as follows:

Click “Next” to go on with the next step.
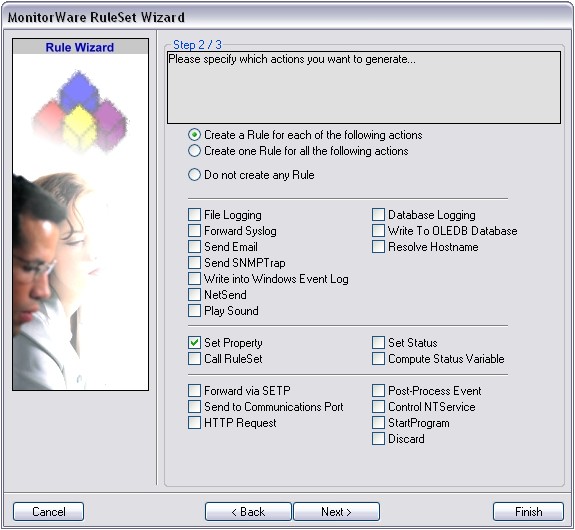
3. Select only “Start Program”. Do not select any other options for this sample. Also, leave the “Create a Rule for each of the following actions” setting selected. Click “Next”. You will see a confirmation page. Click “Finish” to create the rule set.

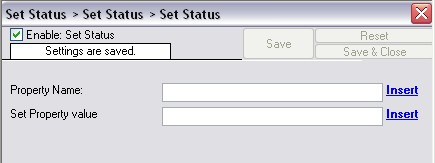
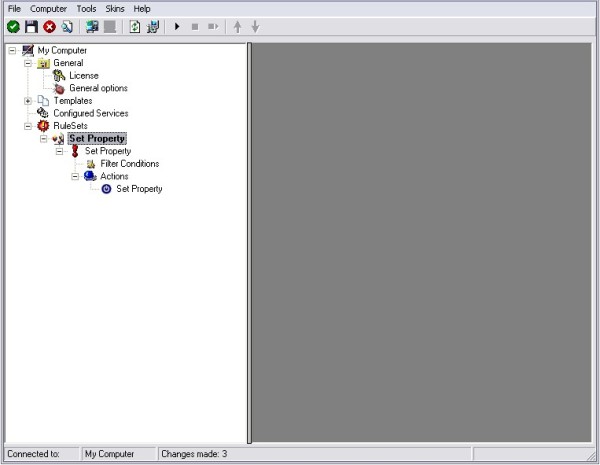
4. As you can see, the new Rule Set “Set Property” is present. Please expand it in the tree view until the action level of the “Set Property” Rule and select the “Set Property” action to configure.

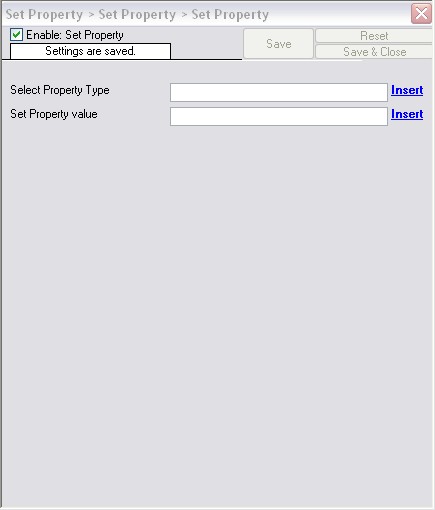
5. You can use this action to start programs and scripts on the occurence of special Events. Mostly this action is used in conjunction with strict filter settings. It allows you to begin with counter-measures if something happens.
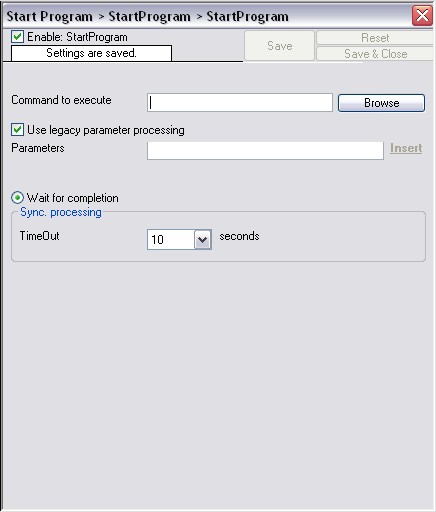
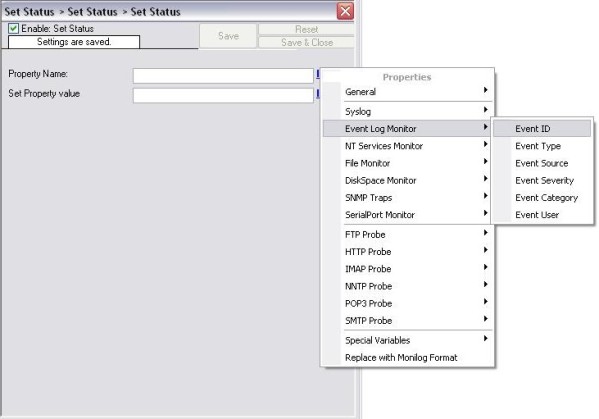
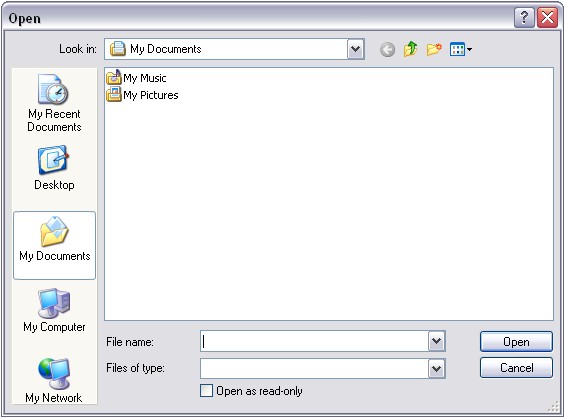
6. By clicking on the “Browse”-Button a windows opens up. Here you can specify the program or script you want to use. After that you can specify special parameters that should be used upon execution. These will be used as command-line parameters. Further there are parameters available which refer directly to message properties. That way you can use information from the messages as parameters. For more information on these, refer to the manual
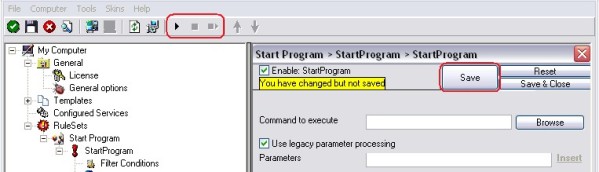
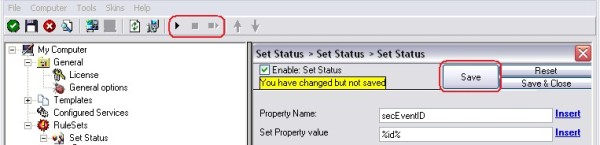
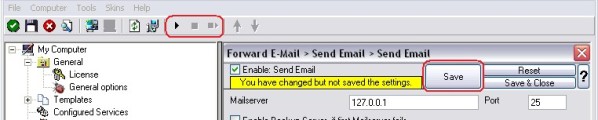
7. Finally, make sure you press the “Save” button – otherwise your changes will not be applied. Then start the service and you are done.