How To setup File Monitor Service
Article created 2006-12-21 by Florian Riedl.
1. First, right click on “Services”, then select “Add Service” and the “File Monitor”.
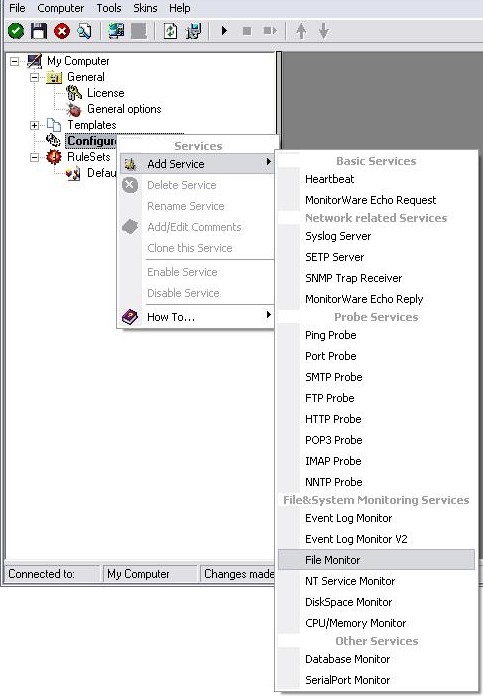
Once you have done so, a new wizard starts.
2. Again, you can use either the default name or any one you like. We will use “My FileMonitor” in this sample. Leave the “Use default settings” selected and press “Next”.
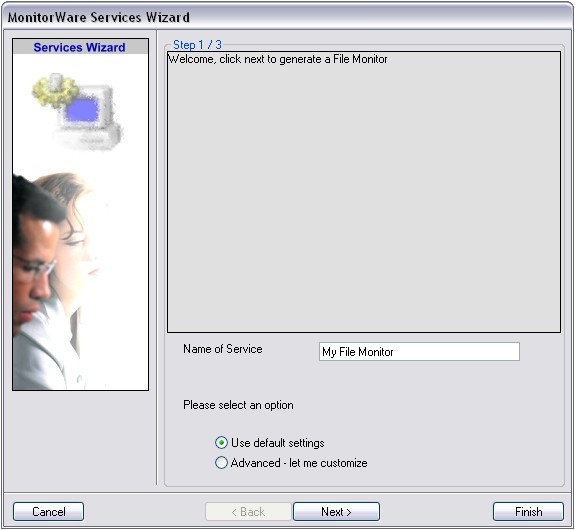
3. As we have used the default, the wizard will immediately proceed with step 3, the confirmation page. Press “Finish” to create the service. The wizard completes and returns to the configuration client.
4. Now, you will see the newly created service beneath the “Services” part of the tree view. To check its parameters, select it:
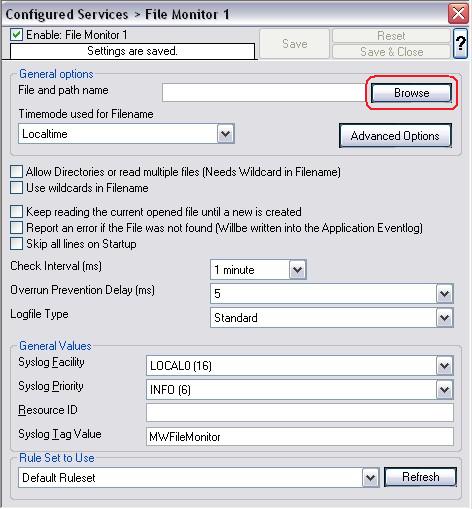
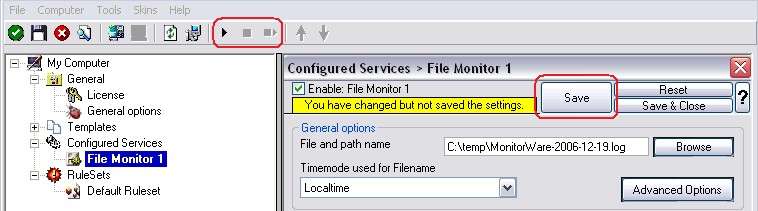
As you can see, the service has been created with the default parameters.
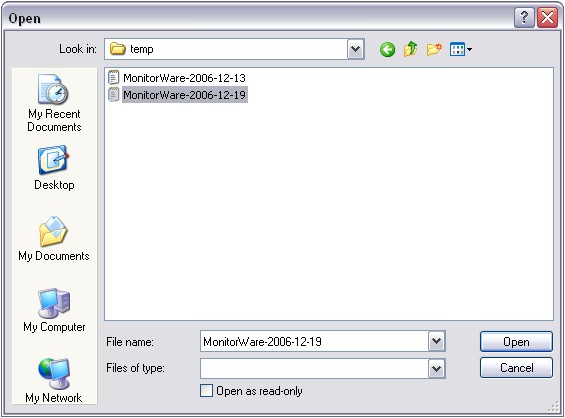
5. To make this Service work, we need to select a text file as source. To achieve this, click on the “Browse” button as you can see it marked in the screen above. A browsing window will open up. Move through your Files and choose one that you would like to monitor. For this example I chose a text file created by MonitorWare Agent.
6. Now we still need to set a ruleset for this service to work with. Since we have no configured ruleset available at the moment, simply use the Default Ruleset, if it’s not being used automatically.
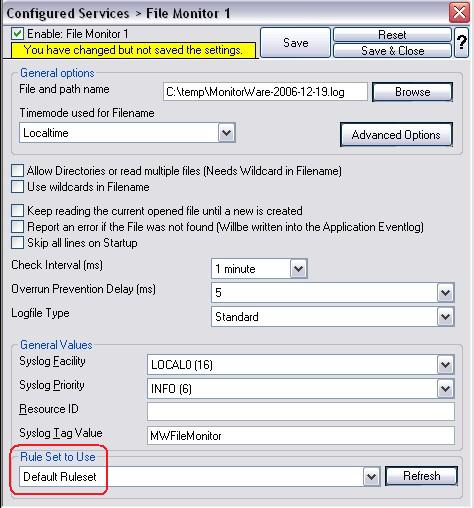
7. Last, save the changes and then restart the application. This procedure completes the configuration of the FileMonitor Service.
The Application cannot dynamically read changed configurations. As such, it needs to be restarted after such changes.