How To setup EventLogMonitor V2 Service
Article created 2007-04-10 by Florian Riedl
Article updated 2011-05-25 by Tom Bergfeld.
Please note:
Starting with EventReporter 8.3 and MonitorWare Agent 4.3 two different event log monitor services are provided. They are called “Event Log Monitor” (V1) and “Event Log Monitor V2”. In short, the V2 version is recommended for Windows Vista (and above, e.g. Longhorn Server) while the other version is for previous releases of Windows (NT, 2000, 2003, XP). Please find more information about the different EventLogMonitors at Which Event Log Monitor to use.
There is also a guide How To setup EventLogMonitor V1 Service.
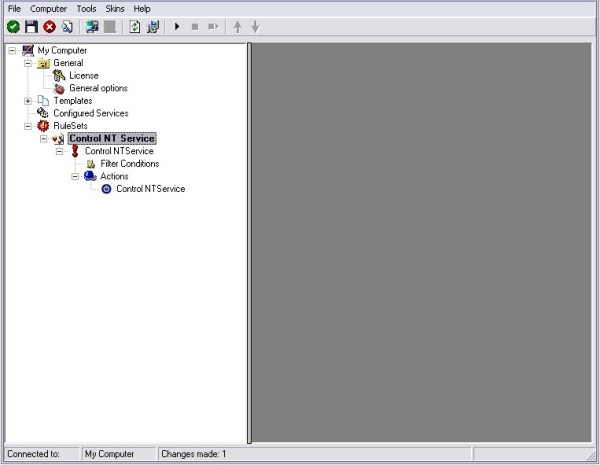
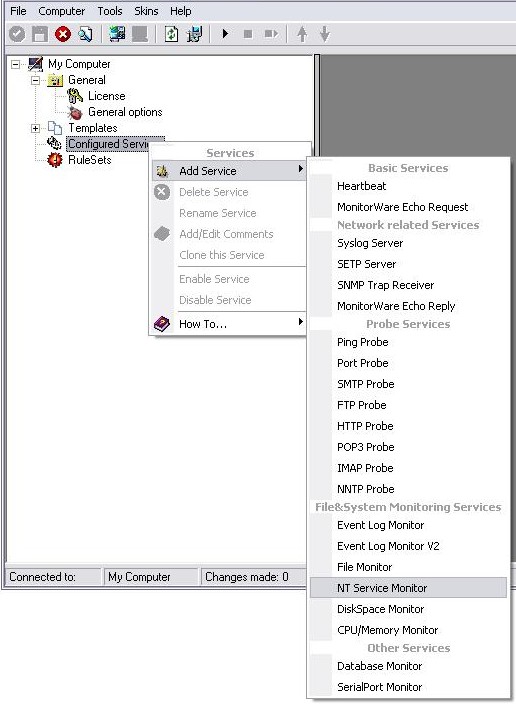
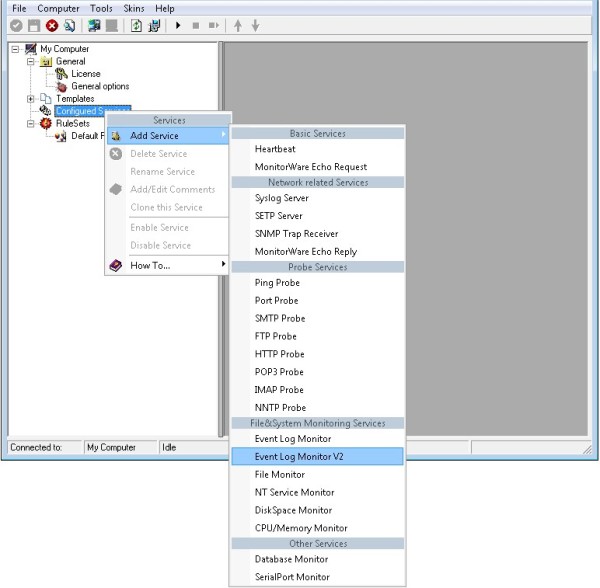
1. First, right click on “Services”, then select “Add Service” and then “Event Log Monitor V2”:
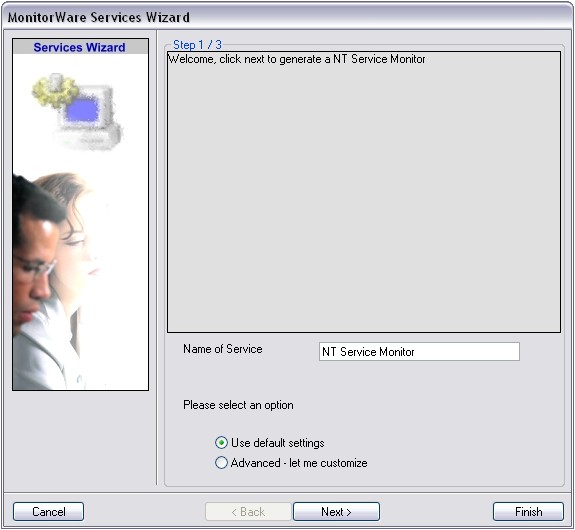
2. Once you have done so, a new wizard starts.
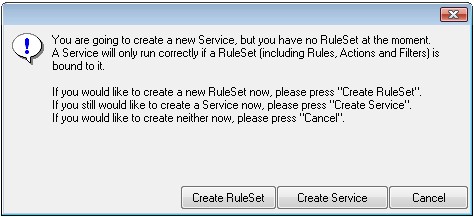
If the following Popup appears, please select “Create Service”:
Again, you can use either the default name or any one you like. We will use the default name in this sample. Leave the “Use default settings” selected and press “Next”.
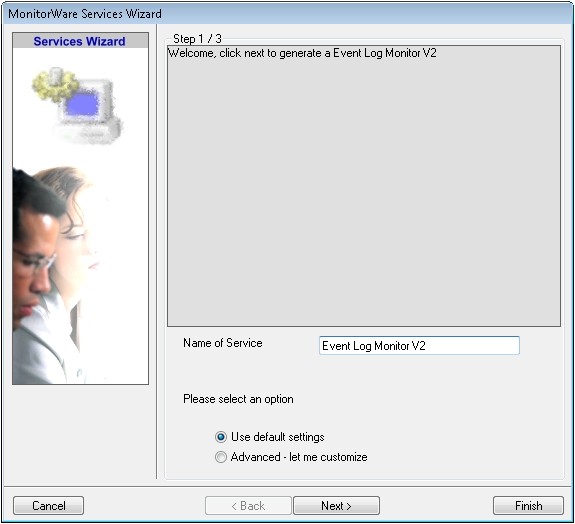
3. As we have used the default, the wizard will immediately proceed with step 3, the confirmation page. Press “Finish” to create the service. The wizard completes and returns to the configuration client.
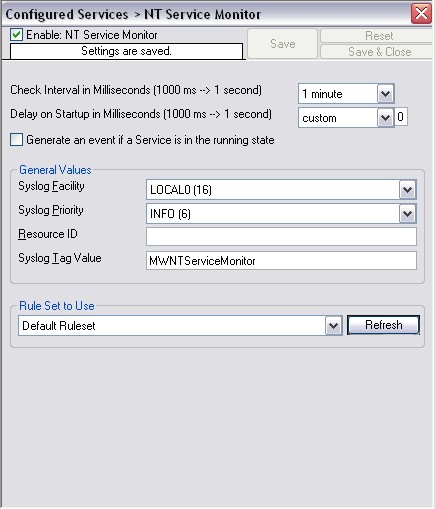
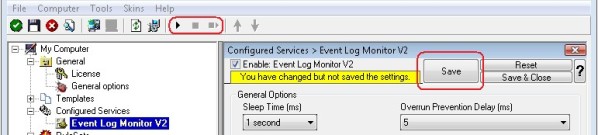
4. Now, you will see the newly created service beneath the “Services” as part of the tree view. To check its parameters, select it:
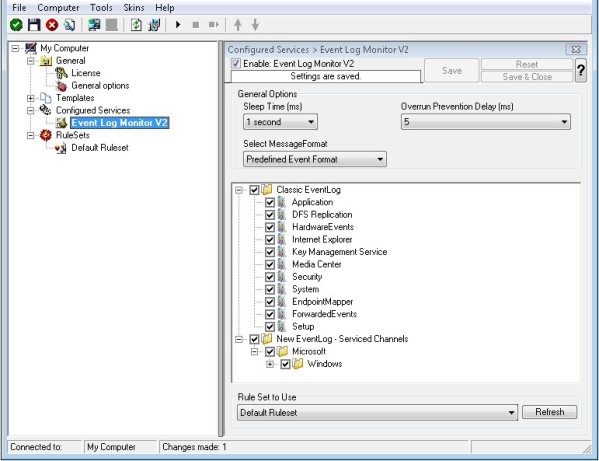
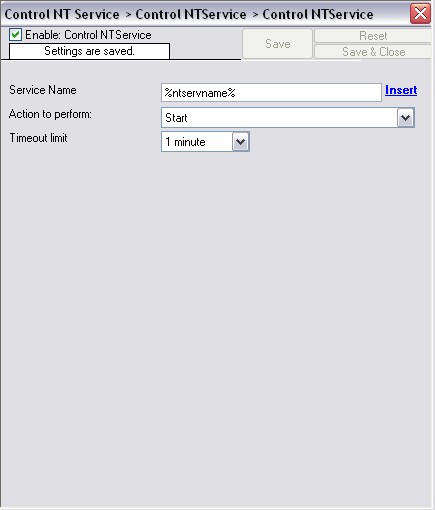
As you can see, the service has been created with the default parameters.
Note: The “Default RuleSet” has been automatically assigned as the rule set to use. By default, the wizard will always assign the first rule set visible in the tree view to new services.
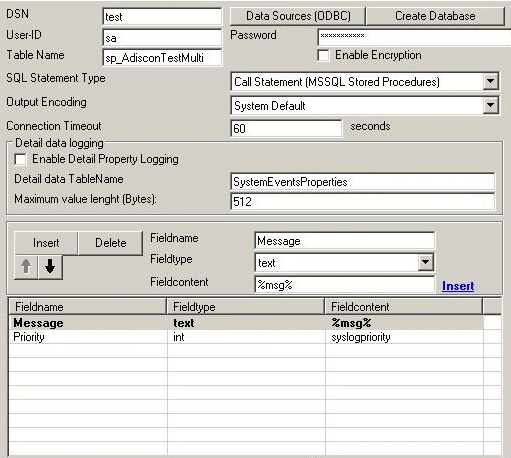
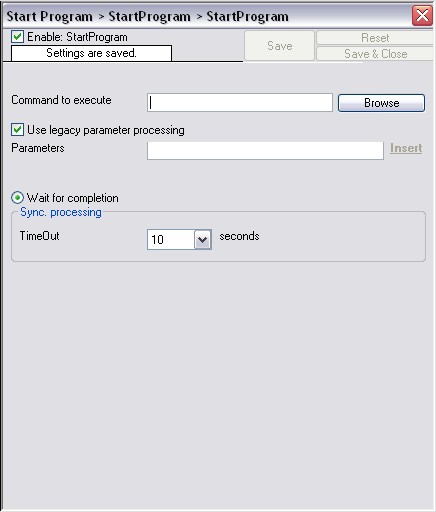
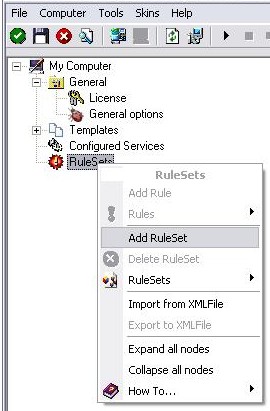
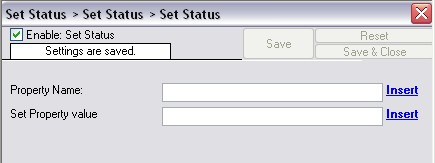
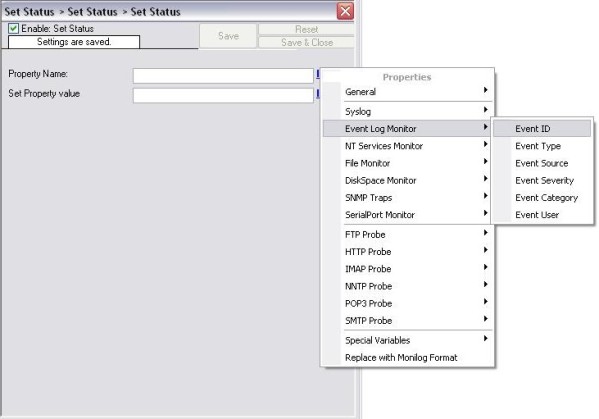
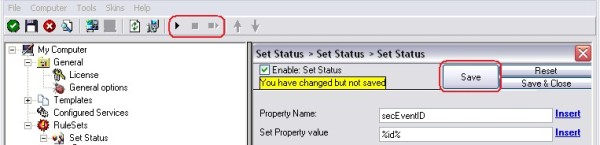
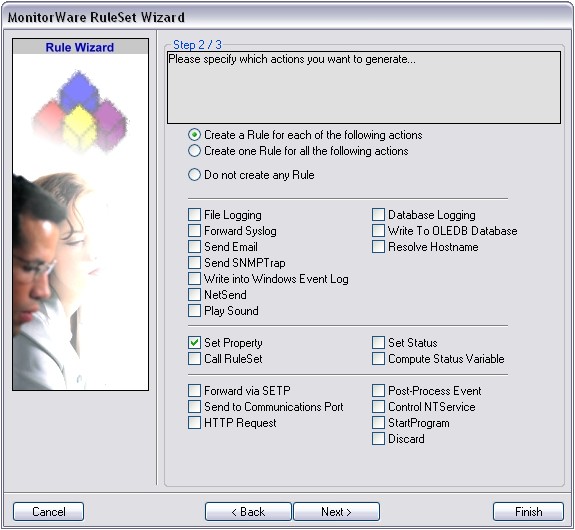
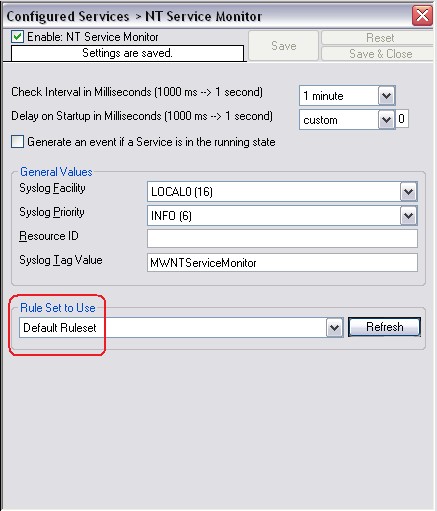
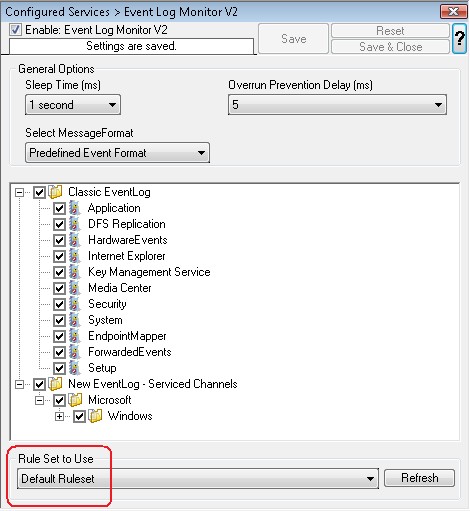
5. Finally we, bind a ruleset to this service. If you already have a ruleset, simply choose one. If not, then you will have to create one, or insert the actions you want to take in the default ruleset.
Remember, this is only an example. You can do it in any way you want.
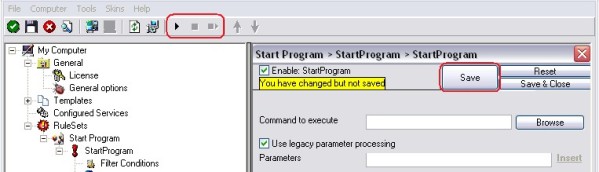
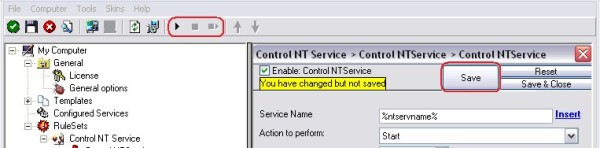
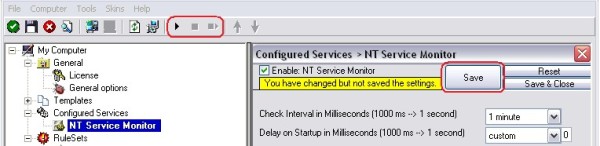
6. The last step is to save the changes and start the service. This procedure completes the configuration of the syslog server.
The NT Service cannot dynamically read changed configurations. As such, it needs to be restarted after such changes. In our sample, the service was not yet started, so we simply need to start it. If it already runs, you need to restart it.
That’s it. This is how you create a simple EventLog Monitor V2 for Vista.